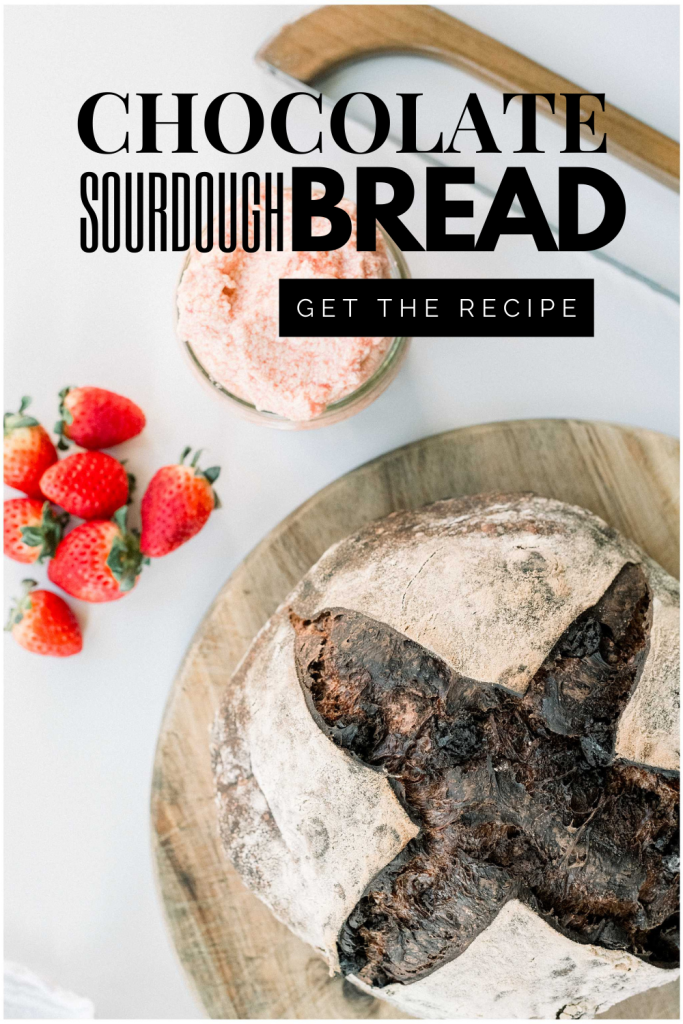
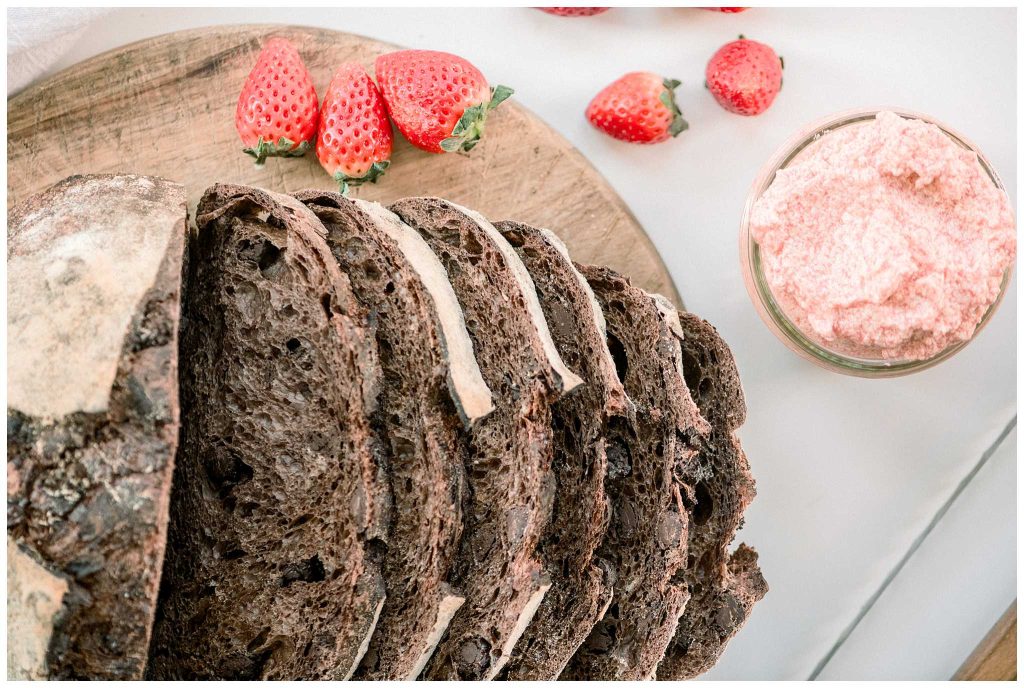
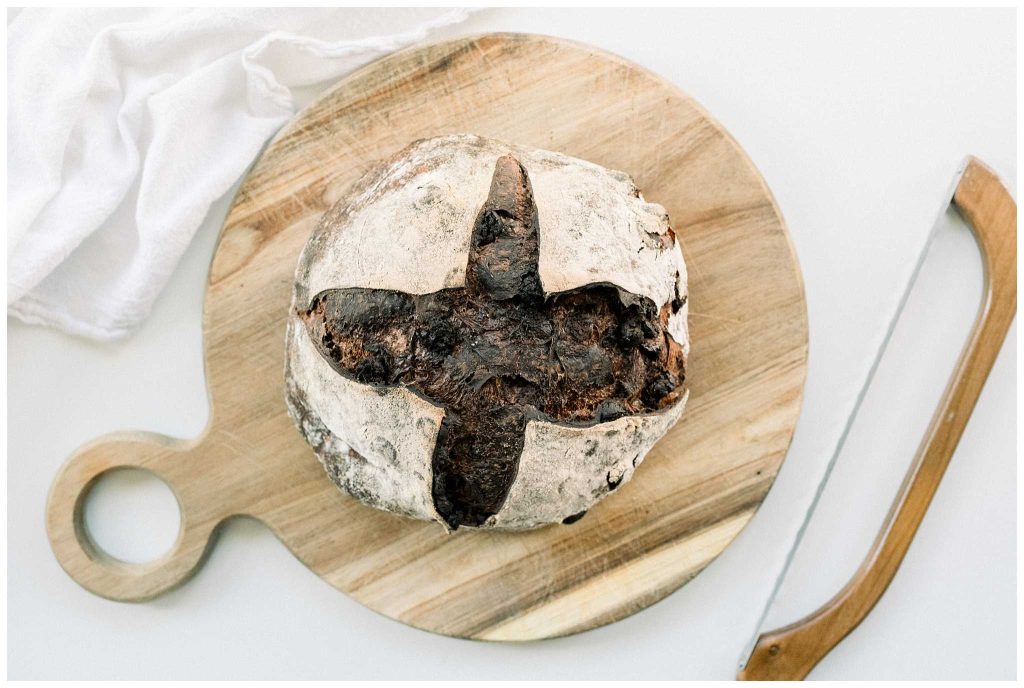
Chocolate Sourdough Bread
This is going to be embarrassing to admit. But I can only make this Chocolate Sourdough Bread occasionally. Why you ask? Because I will eat the whole dang thing. I literally barely share the loaf with my family. It is disgraceful but oh so good. I just cant help myself. And since it’s sourdough, it’s gut healthy, right? Right!?
Some links on this site are affiliate links. If you buy something, I may earn a small commission (aka more ingredients for future recipes!)
Why you’ll love this chocolate sourdough bread
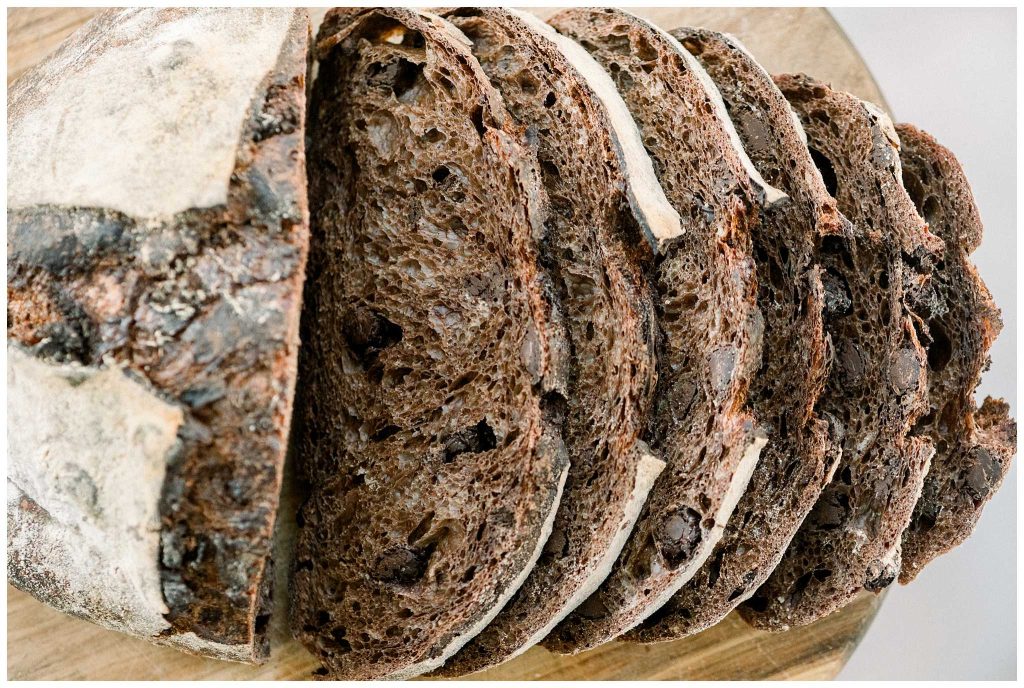
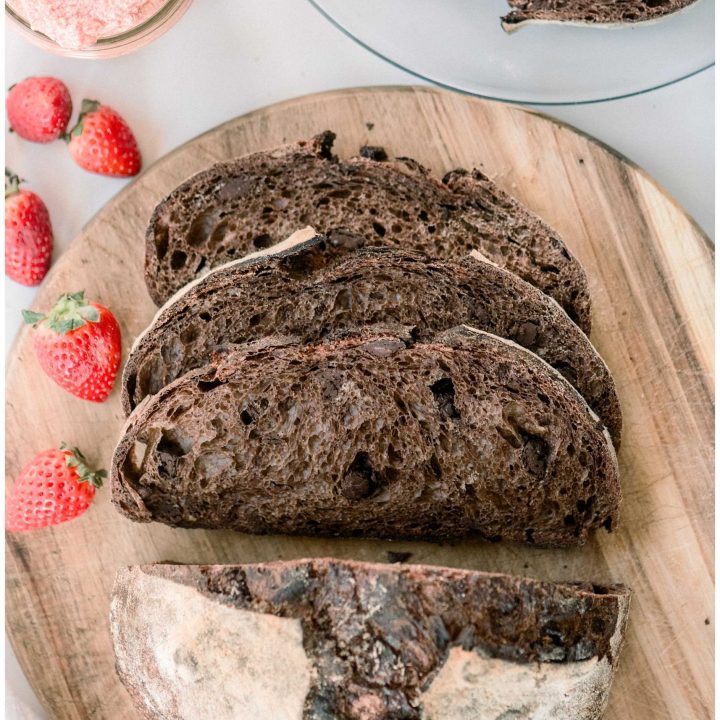
Perfect open sourdough crumb
Ever tried to make chocolate sourdough bread that ended up resemleing a brick? Not this recipe! This has the beautiful and tender crumb of your typical sourdough bread but with the incredible rich and decadent flavor of chocolate.
Easy-to-follow directions
I wrote this recipe out to be very thorough so you end up with delicious chocolate sourdough every time. Make sure to read through the instructions prior to starting
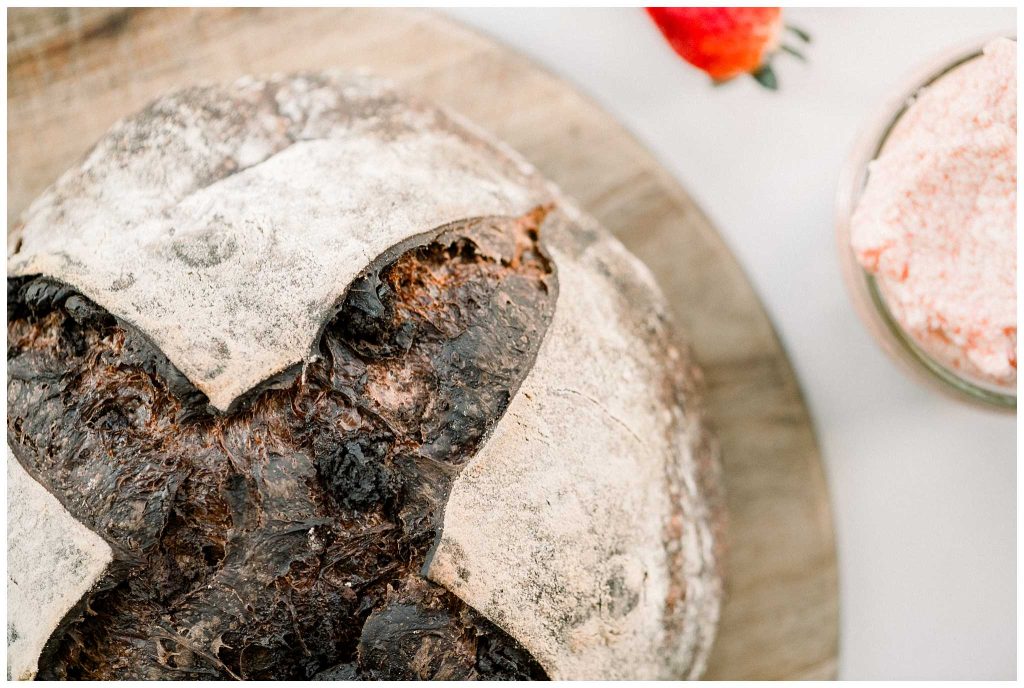
Customizable Chocolate Goodness
The only thing more delicious than this chocolate sourdough bread is incorporated cherries into it. Or strawberries. I go into more detail below, so don’t miss it.
Ingredients
Cocoa Powder
Cocoa powder is the key ingredient for giving this bread its rich, chocolatey flavor. I use herseys cocoa powder because it is readily available to me. You can also use a cacao powder for a healthier option.
Coffee or Espresso
Hot coffee or espresso is used to bloom the cocoa powder, helping it form a smooth paste. The coffee’s deep flavor complements the chocolate, creating a more intense chocolatey taste in the bread. Warm water is an easy replacement if you are unable to use coffee.
Sourdough Starter
Sourdough starter is the worhorse behind the fermentation and rise of this bread. It’s made from water and flour and carries the tangy, complex flavors that sourdough bread is known for. You will need a active and bubbly sourdough starter for this recipe. So make sure it is fed and ready to go.
Flour, Water, and Salt
As with any good sourdough recipe, the base starts with all-purpose flour, water, and a pinch of salt. These simple pantry staples create the structure and flavor of the bread, letting the chocolate shine through while keeping that classic sourdough texture we love.
Sugar
Sugar adds just enough sweetness to offset the bitterness of the cocoa and provide a slightly sweeter bread that complements the chocolate chips.
Chocolate Chips
These chocolate chips melt into the dough, creating delicious pockets of gooey, sweet chocolate throughout the loaf. I use dark chocolate for health benefits but feel free to use milk chocolate, mini, or even white chocolate for a different flavor. YUM.
Tools and Equipment You’ll Need
Kitchen Scale
A kitchen scale is essential for accurately measuring the ingredients. Sourdough bread recipes rely on precise ratios, so using a scale ensures consistent results and better bread every time.
Dutch Oven
A Dutch oven is a must for this recipe. It creates the perfect environment for baking sourdough by trapping steam, which helps form a beautiful, crispy crust while keeping the bread moist inside. If you don’t have a Dutch oven, you can bake in a heavy oven-safe pot with a tight-fitting lid.
Proofing Basket
A proofing basket (also known as a banneton) helps support the dough as it undergoes its final rise. The woven design ensures the dough holds its shape. If you don’t have one, you can use a bowl lined with a clean, floured kitchen towel.
Bread Lame
A bread lame is a tool for scoring the bread, allowing it to expand during baking. It creates those beautiful, artisanal lines on top. If you don’t have a bread lame, a sharp serrated knife will do just fine.
Bench Scraper
A bench scraper, or dough scraper, is helpful for scraping the dough out of the bowl, dividing it, and shaping it. It can also be used to clean the work surface. A sturdy spatula or similar tool can be used in a pinch.
Baking Tips for Perfect Results
Cocoa Bloom
Blooming the cocoa in hot coffee is an essential step to unlock its full flavor. When cocoa powder is mixed with warm liquid, its flavor compounds are released and enhanced. This process prevents the cocoa from pulling moisture away from the dough during the mixing process, which would otherwise result in a denser loaf. The coffee also adds depth to the chocolate flavor, creating a richer, more complex taste in every bite. If you cannot use coffee, water is a 1:1 ratio substitution that will work as well, just without that extra boost of flavor (in this case you have my permission to add more chocolate chips!)
The importance of autolyzing your dough
The autolyse process is an initial resting period where just the flour, water, cocoa paste, and sugar are mixed together. During this time, the flour absorbs the water and starts to form gluten, which will help provide structure for the bread. This stage gives the dough time to hydrate evenly, leading to a more extensible dough that rises properly.
Why this recipe uses coil folds
By using coil folds, the chocolate chips get gently enveloped in the dough, ensuring they stay inside the loaf rather than sinking to the bottom or spilling out. This technique not only helps with integrating delicate ingredients like chocolate chips but also strengthens the dough’s structure without overworking it. Here is how to do it:
- Wet your hands and gently reach under the dough to lift it from the center.
- Stretch the dough upward, then fold it back over onto itself.
- Rotate the bowl a quarter turn and repeat the process on the next section of dough.
- Do this for all four sides, and you’ll see how the dough becomes stronger and more cohesive with each fold.
How long does it take to ferment sourdough bread
Bulk fermentation is key to developing the dough’s flavor and structure. To determine when your dough has doubled in size, visually check for expansion. You can also perform the “poke test”: gently press your finger into the dough. If the dough springs back slowly, it’s ready for the next step. Watch for bubbles forming on the surface as another indicator that fermentation is well underway. Once the dough has fully doubled, it’s time to move on to shaping.
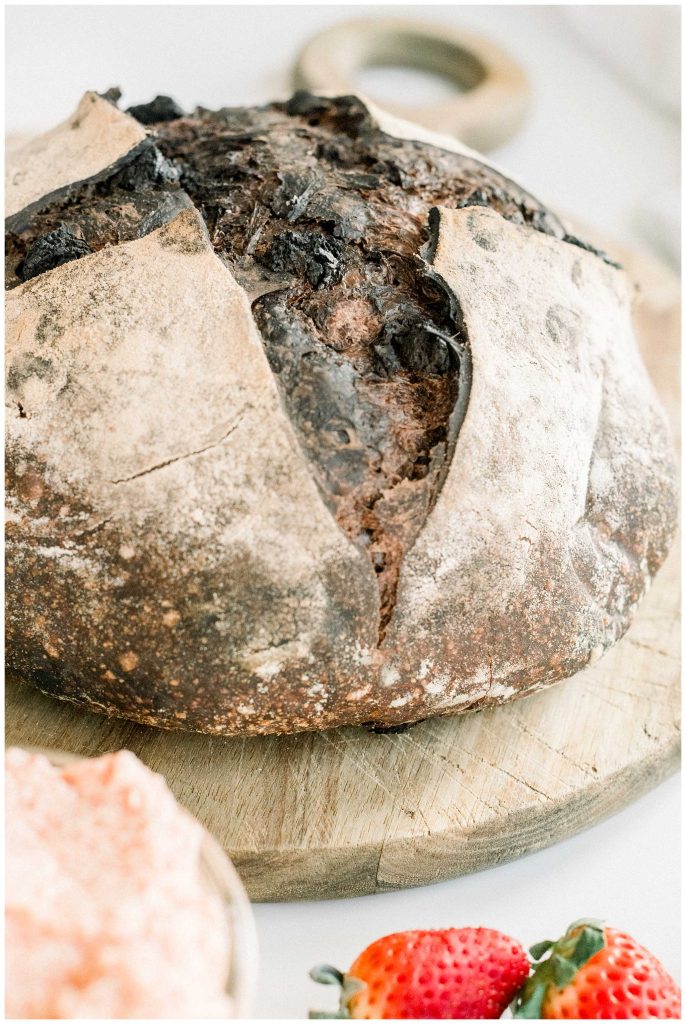
Shaping and Proofing
When shaping your dough, keep in mind that a taut surface is key to a great rise. Gently pull the dough edges under itself as you form your loaf, creating surface tension. This helps the bread hold its shape while baking. For final proofing in the fridge, ensure your dough is covered tightly to prevent it from drying out. The cold temperature slows the fermentation, giving the flavors time to develop and the dough time to relax. A 12-15 hour proof allows the dough to become perfectly airy and light, resulting in a loaf that’s tender and flavorful with a beautiful crumb.
How to serve this Sourdough Chocolate Bread
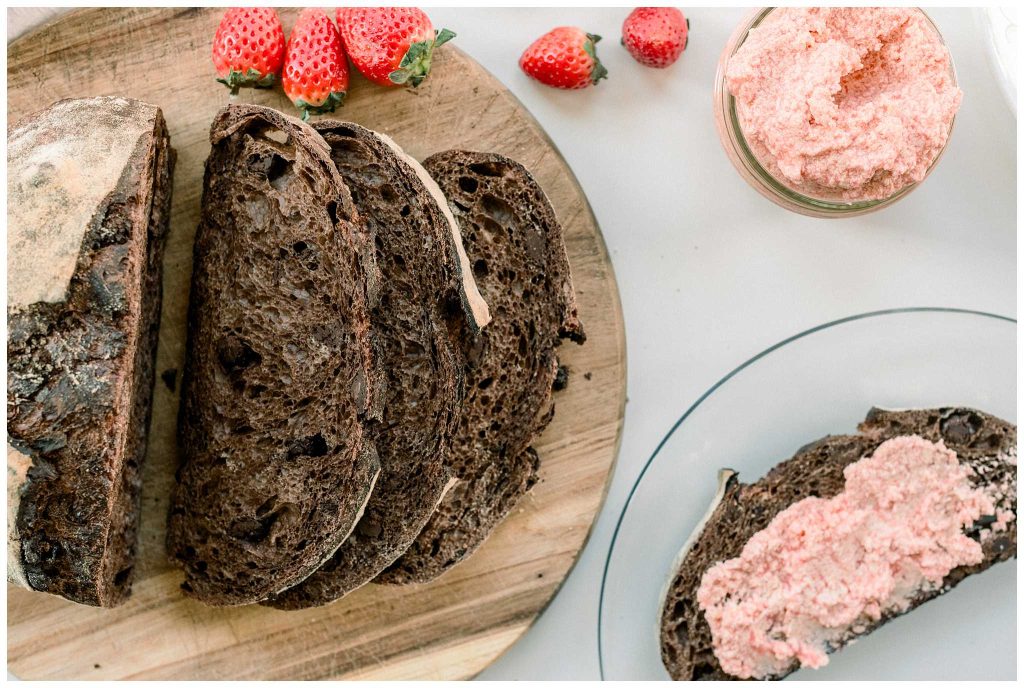
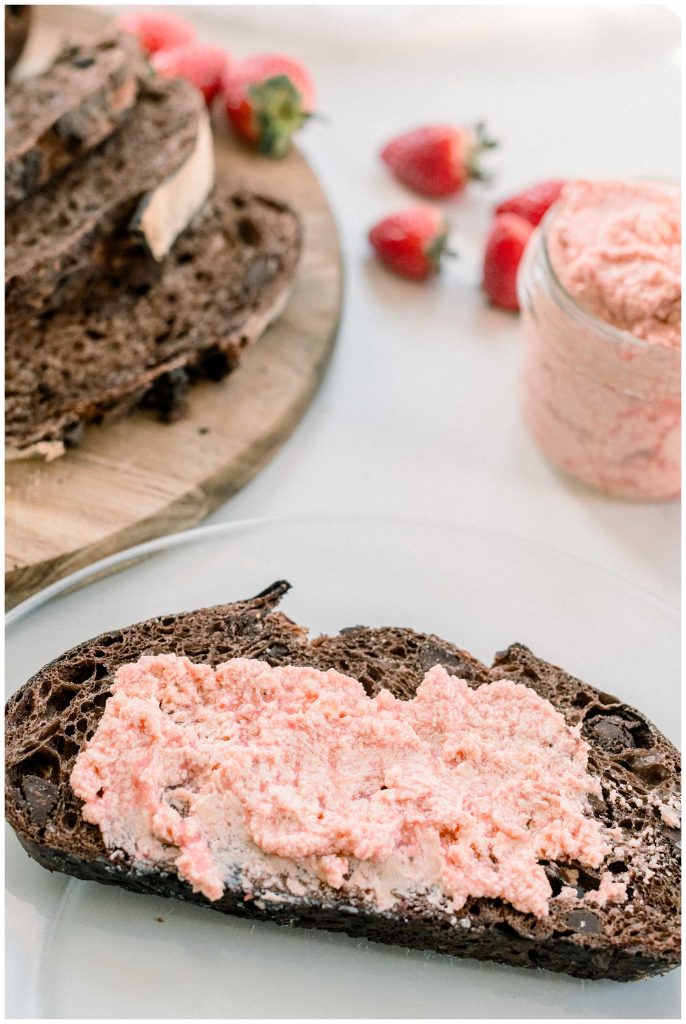
Other than me shoving as many slices of this bread in my mouth as possible, there are much more refined (and tastier!) ways to enjoy this sourdough.
- Toasted with whipped strawberry butter
- Topped with Fresh Fruit and whipped cream
- Turn into French toast for a decadent treat
Chocolate Sourdough Bread Recipe
Chocolate Sourdough Bread
This Chocolate Sourdough Bread is rich, decadent, and almost too good to share—sourdough made sweet with a chocolatey twist!
Ingredients
- 50 g cocoa powder
- 100 g hot coffee or espresso
- 150 g active sourdough starter
- 350 g water
- 550 g all-purpose flour
- 60 g sugar
- 10 g salt
- 1 cup chocolate chips
Instructions
Bloom Cocoa and Autolyse Dough
- In a small bowl, combine the cocoa powder and hot coffee. Stir until smooth and it thickens into a paste. Set aside while preparing the autolyse.
- In a large mixing bowl, combine the flour, water, bloomed cocoa, and sugar. Use wet hands to mix until no dry bits remain. Cover and rest near your starter for 1 hour.
Mixing
- After the autolyse, add the active sourdough starter and salt to the dough. Knead the dough in the bowl for 5 minutes, then cover and let rest for 15 minutes.
Coil Folds and Chocolate Chips
- Add the chocolate chips and incorporate them gently using wet hands.
- Perform 4 coil folds, spaced 15 minutes apart. For each fold, gently lift the dough from the center to stretch it, then tuck it under itself. Rotate the bowl and repeat for all sides. Coil folds help distribute the chocolate chips evenly in the dough without damaging the doughs structure.
Bulk Fermentation
- Cover the bowl and allow the dough to ferment until it doubles in size, about 1.5–2 hours depending on room temperature.
Shaping and Proofing
- Once dough has doubled in size, gently scrape the dough onto a lightly floured work surface. Shape the dough into a bâtard or boule and place it seam-side up into a proofing basket or a bowl lined with a lightly floured kitchen towel.
- Cover with a reusable bag or plastic wrap and refrigerate for 12–15 hours for the final proof.
Baking
- Preheat the oven to 450°F, placing a Dutch oven inside to heat for at least 30 minutes. Remove the proofing basket from the fridge.
- Flip the dough onto parchment paper, dust lightly with flour, and score with a bread lame.
- Transfer the dough with the parchment paper into the preheated Dutch oven.
- Bake covered for 35-40 minutes. Keep the lid on for the entire bake to maintain moisture and achieve a tender crumb. Cool completely on a wire rack before slicing.
Notes
Store at room temperature in a sealed bag for up to 2 days. For longer storage, wrap tightly and freeze for up to 2 months; thaw and warm before serving.