Soft Sourdough Sandwich Bread
I have to admit that this recipe has been on the lineup for a WHILE for me to share with you. While I have been quietly perfecting this sourdough oatmeal sandwich bread recipe for months, life got in the way of making it on the blog. Thats what happens when you move your entire farm to a new property, I suppose.
But I promise you this sourdough sandwich bread recipe is worth the wait, and you’re going to love it! It’s the only sandwich bread recipe we eat in this house, and it is perfection with a capital T.
Why You’ll Love This Recipe
Easy to make
No fancy techniques here! Just simple steps that fit into real life. If you’ve got a bubbly sourdough starter and a little patience, this loaf will rise (he-he) to the occasion. I’ll walk you through each part so you can bake with confidence.
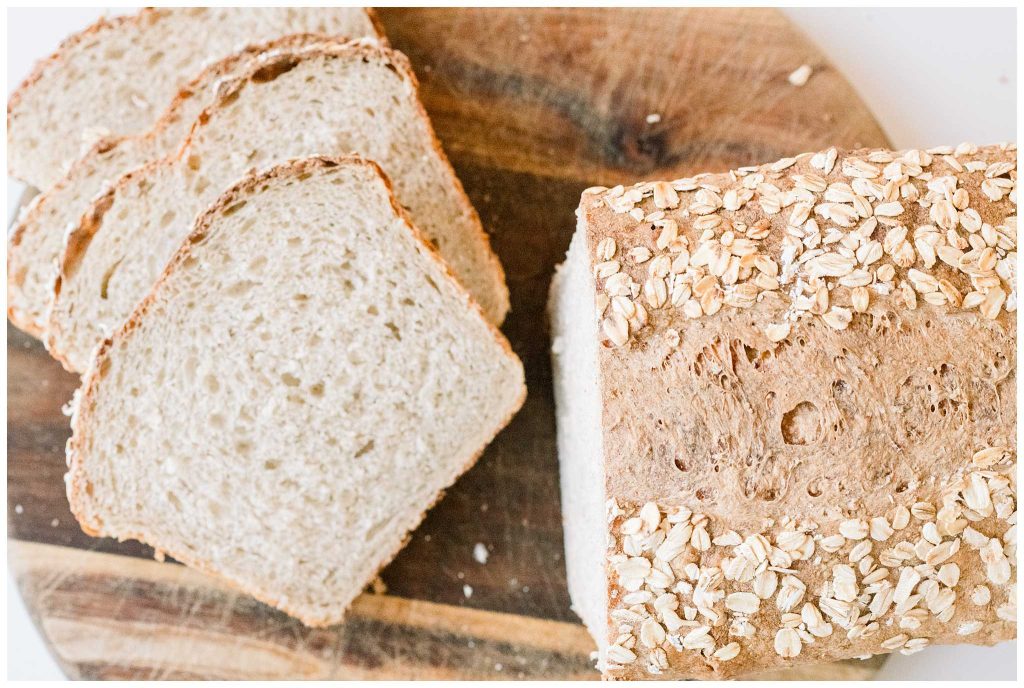
Soft and fluffy
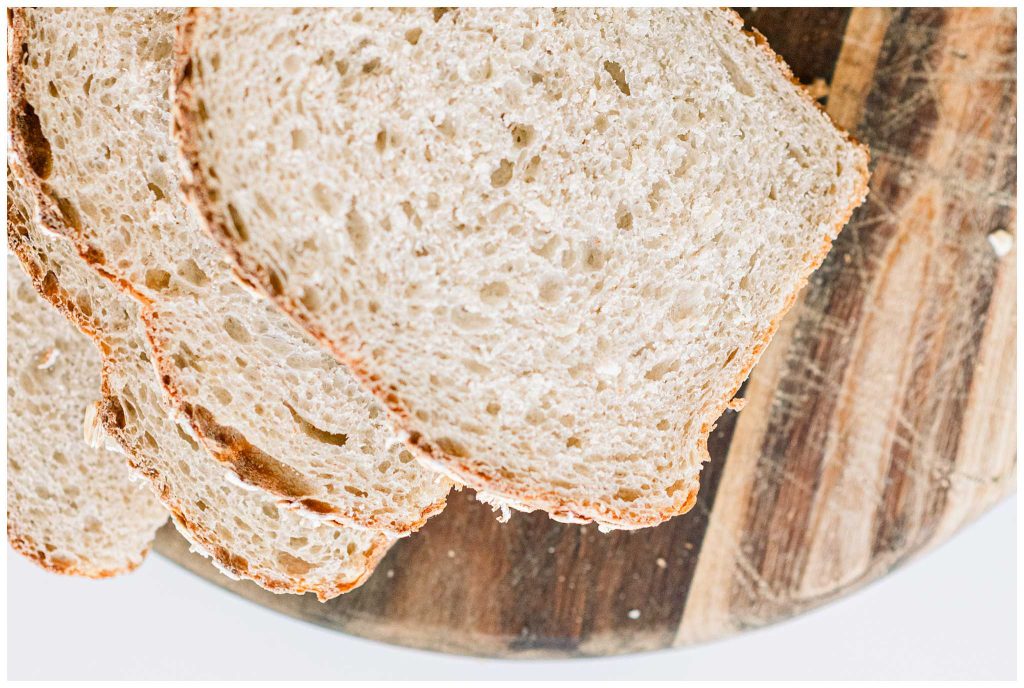
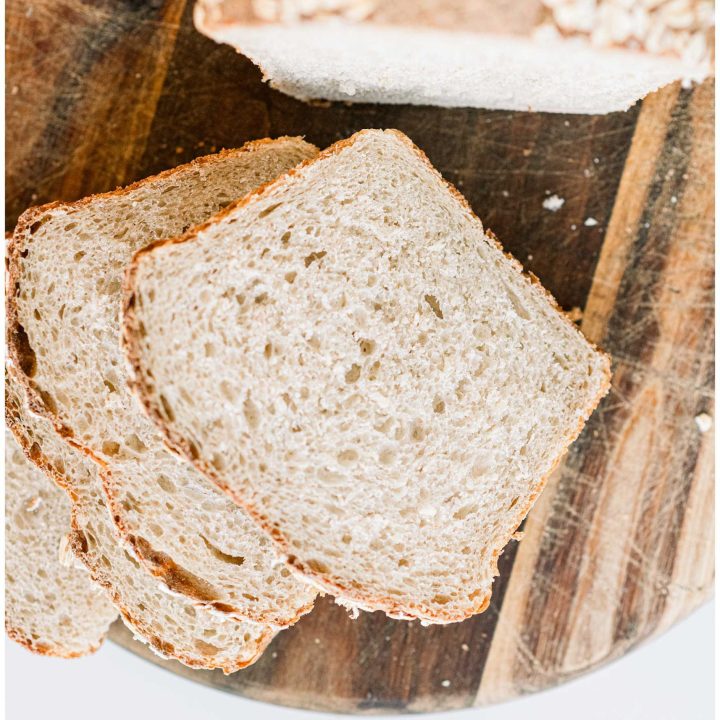
This isn’t one of those dense, heavy loaves. Thanks to the oats and sourdough, you get a soft, pillowy crumb that holds up beautifully to slicing, toasting, and stacking high with your favorite sandwich fixings.
Simple Ingredients
We’re keeping it real around here. Just pantry basics like rolled oats, flour, salt, and a bit of honey. No preservatives, no hard-to-pronounce additives, just wholesome goodness you can feel good about.
Ingredient List
Oats
Whether you go with rolled oats or steel-cut, oats bring heartiness and just the right touch of wholesome texture to this bread. They help keep the crumb tender and give the loaf that cozy, rustic feel we all love in a homemade sandwich bread.
Brown Sugar
A little brown sugar adds warmth and a hint of sweetness that balances the tang from the sourdough. It also helps with that golden crust we’re after—just enough caramelization to make each slice a little irresistible.
Milk
Milk softens the dough and gives it a creamy richness. It’s one of the secrets to that soft, sandwich-friendly crumb that doesn’t dry out by day two (if it even lasts that long).
Water
Good bread needs hydration, and water helps the oats plump up and the dough develop that stretchy, workable texture. It’s part of what gives this loaf its structure without making it dense.
Sourdough Starter
This is where the flavor magic happens. The sourdough starter gives the bread its signature tang, supports a beautiful rise, and makes each loaf feel like a small baking victory.
Salt
Don’t skip it—salt brings all the flavors together. It enhances the oats, balances the sugar, and keeps the bread from tasting flat.
All-Purpose Flour
Good old all-purpose flour gives the bread strength and structure while keeping the crumb light. It plays well with the oats and starter to make a dough that’s easy to work with and reliably delicious.
Tools and Equipment
Sourdough Starter
Your trusty sourdough starter brings the rise and the flavor to this bread. If you’re just getting started or want tips on how I maintain mine, here’s my simple sourdough routine to help you keep it happy and active.
Loaf Pans
This recipe makes two standard 9×5-inch loaves, so you’ll want a pair of pans ready to go. I like to grease mine and sprinkle oats inside for that signature rustic look and texture.
Kitchen Scale
For the most consistent results, I always recommend using a kitchen scale. It takes the guesswork out of measuring flour and starter and makes a big difference in how your loaves turn out.
Stand Mixer (Optional)
While this dough can be mixed by hand, a stand mixer with a dough hook makes things quicker and neater, especially when working with a large batch like this.
Sourdough Sandwich Bread Recipe
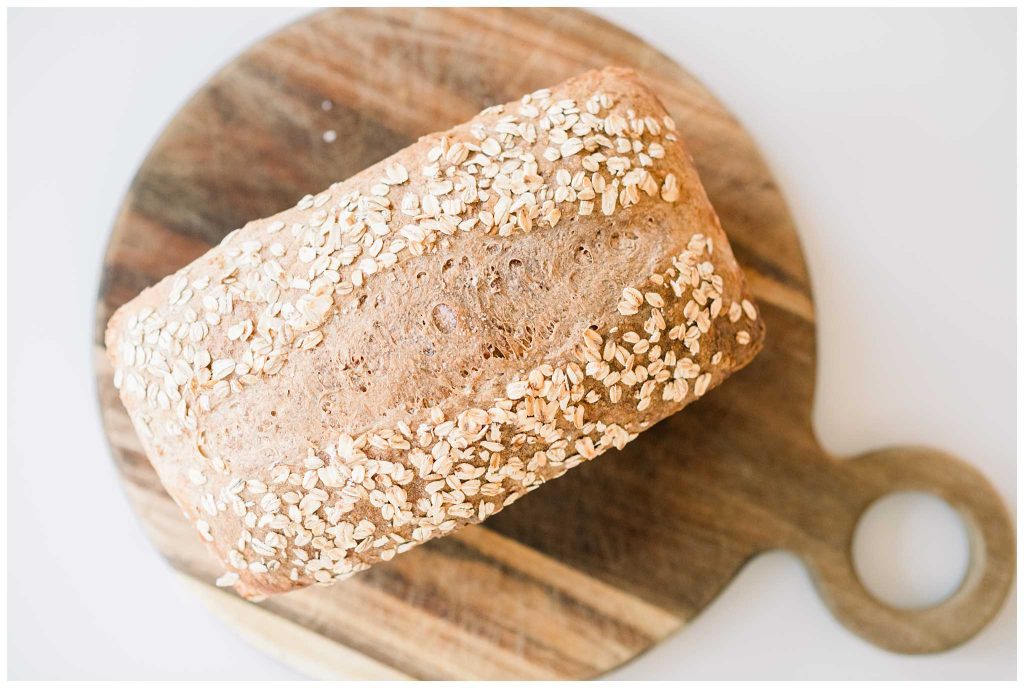
Sourdough Oatmeal Sandwich Bread
A soft and slightly sweet sourdough sandwich bread with wholesome oats and a hint of sweetness from the brown sugar.
Ingredients
- 224 g rolled oats, or 2 cups (280 g) steel-cut oats
- 71 g brown sugar
- 240 g milk
- 454 g water
- 480 g sourdough starter
- 17 g salt
- 840 g unbleached all-purpose flour
Instructions
- Soften the Oats In a large mixing bowl, stir together the water, milk, brown sugar, and oats. Let the mixture sit for 10 to 15 minutes so the oats can soften and absorb some of the liquid.
- Mix the DoughOnce the oat mixture has cooled slightly, add the sourdough starter, flour, and salt. Knead the dough with a dough hook for 10 minutes on low (speed 2 on KitchenAid mixer).
- Bulk FermentationCover the bowl with a towel or plastic wrap and let the dough rest at room temperature for at least 4 hours, until doubled in size. The dough will remain soft and slightly sticky.
- Shape the LoafGrease a 9x5-inch loaf pan and sprinkle oats into the bottom and sides. Turn the dough out onto a lightly floured surface and roll the dough into shape. Gently place it into the pan.
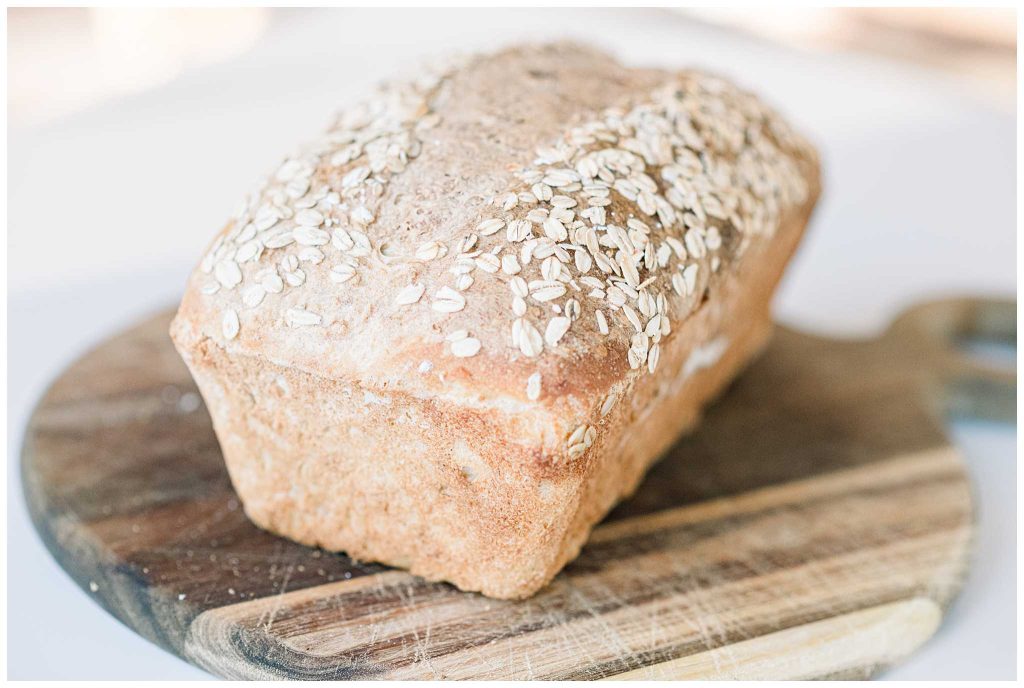
- Final Rise Cover the loaf and let it rise at room temperature for 1 to 2 hours, or until it has doubled in size. If you’d like, brush the top with an egg wash and press on a handful of oats for a pretty, rustic finish.
- BakePreheat the oven to 375°F (190°C). Just before baking, score the top of the loaf with a sharp knife or bread lame. Bake for 40–45 minutes, or until the loaf is golden brown on top.
- Cool & EnjoyLet the bread cool in the pan for about 5 minutes, then transfer it to a wire rack to cool completely before slicing. (I know it’s hard to wait, but it’s worth it!)
Notes
Storage: Once fully cooled, store your loaf in a bread bag or wrapped in a clean kitchen towel and place it in an airtight container on the counter. It will stay soft for up to 4 days. Avoid the fridge—it’ll dry out faster there.
Freezing: This bread freezes beautifully. Let it cool completely, then wrap tightly in plastic wrap and place in a freezer bag. Freeze whole, or slice it first so you can grab a piece at a time. To reheat, pop slices straight into the toaster or warm the whole loaf in a 325°F oven for about 15–20 minutes.
Slicing Tip: For the cleanest slices, wait until the bread is fully cooled (I know... the smell makes that hard). A serrated bread knife works best.
Oat Options: You can use rolled oats or steel-cut oats in this recipe. If using steel-cut, make sure to let them soak thoroughly during the softening step so they don’t stay too chewy in the finished loaf.