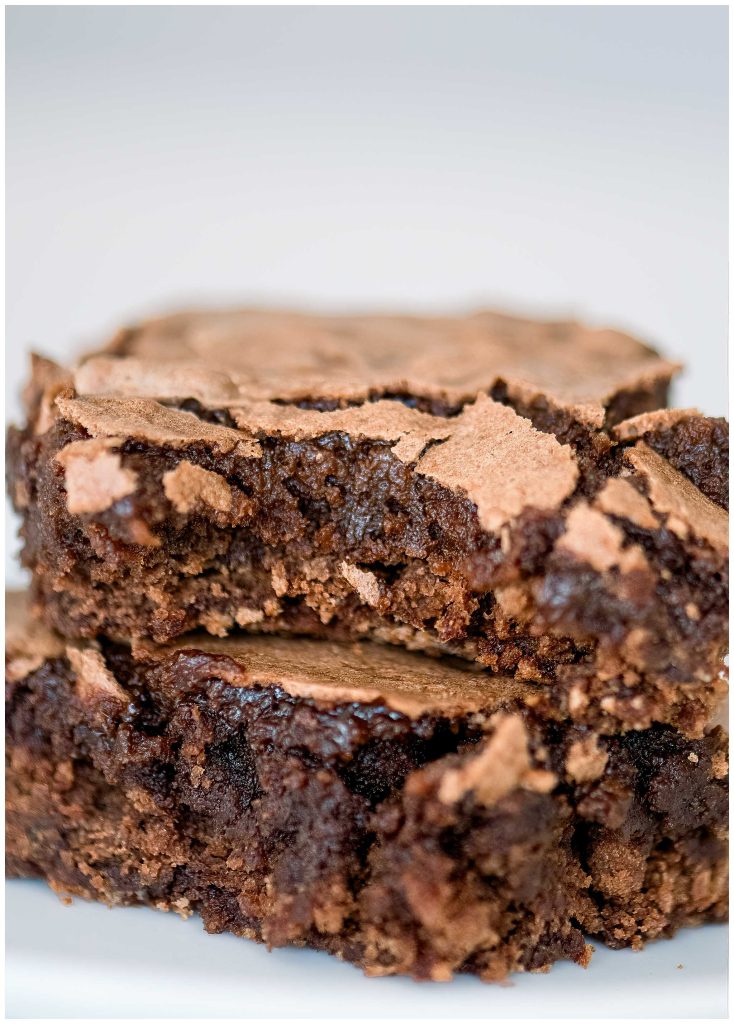
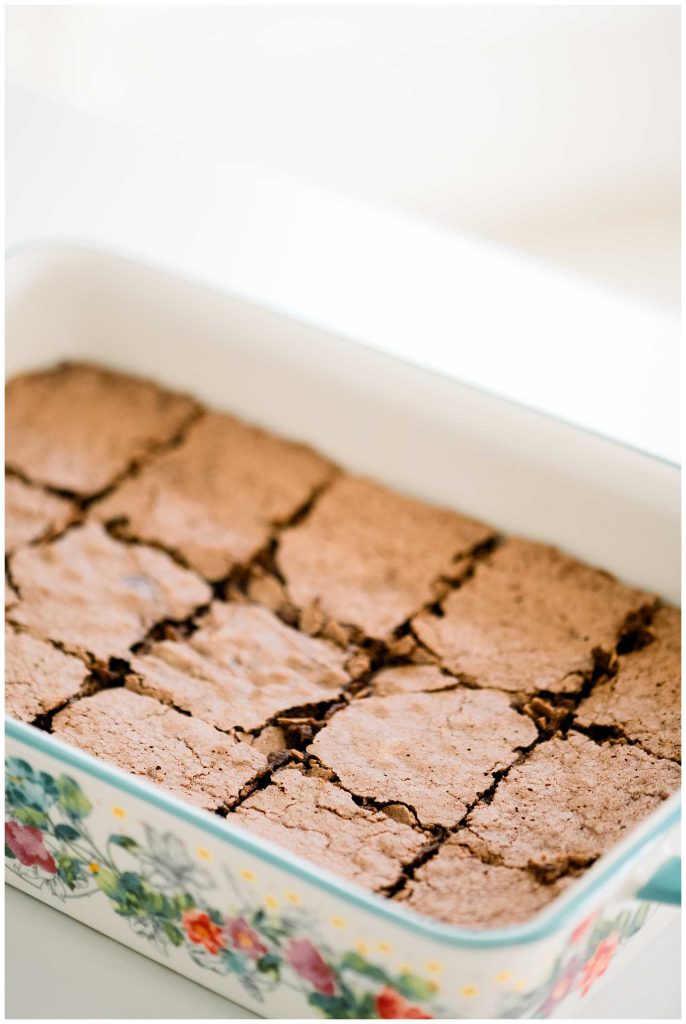
Fudgy Sourdough Brownies (Sourdough Discard Brownies)
I am going to be real with you here, I don’t like cake. It’s just not my jam. When I was a kid, I always requested apple pie and ice cream for my birthday instead. It’s not as easy to stick a candle in a piping hot apple pie, but my mama managed somehow. Now, brownies are a different story. No brownie is safe around me, and that’s especially true for these Sourdough Brownies. In fact, when I was photographing them, I accidentally ate half the pan before the photoshoot was over. Whoops!
Some links on this site are affiliate links. If you buy something, I may earn a small commission (aka more ingredients for future recipes!)
Why You’ll Love This Sourdough Brownie Recipe
Only uses cocoa powder, not chocolate chips
I love chocolate chips, specifically, I love snacking on them. Which means I can never keep them in stock when I need to use them for baking. I also find it is much easier (and cheaper) to find healthier versions of cocoa powder than chocolate chips. This recipe will give you fudgy brownies without the need for chocolate chips!
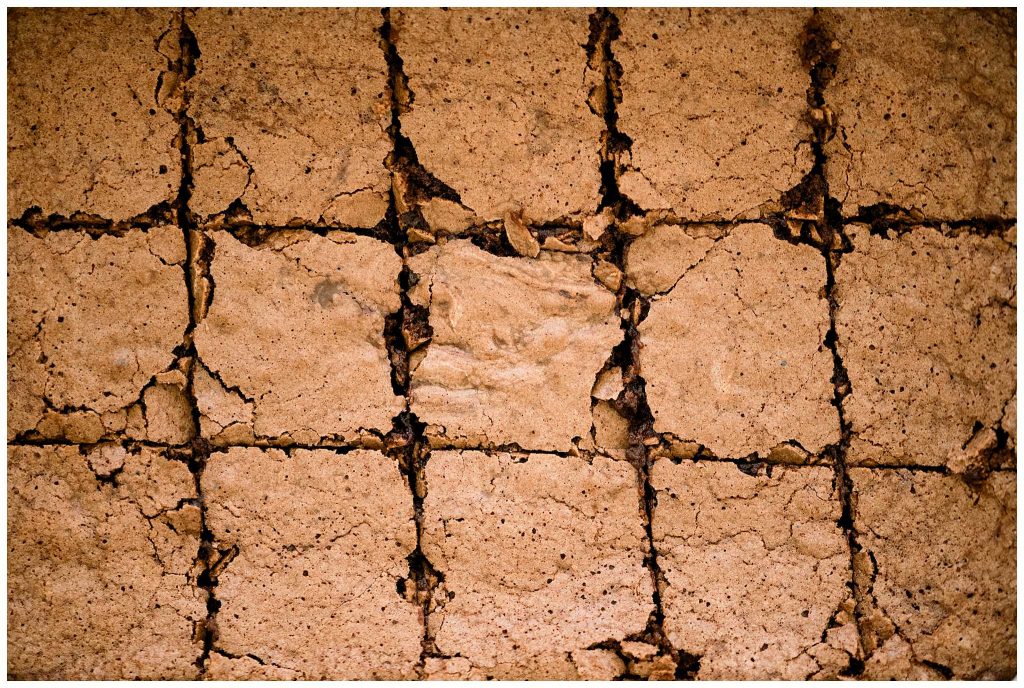
Crackly brownie top
An iconic brownie top was the most important thing to me in this recipe. It is all in the technique, which we will talk about below.
Freezer Friendly
I love making a large batch of these sourdough brownies and freezing individual servings for when I want a quick chocolatey treat.
Sourdough Discard Brownies
You can use fed sourdough starter or this recipe is also a great way to use up sourdough discard! So if you need a reason not to be wasteful and throw out unfed starter, then you have my permission to make these amazing brownies. All in the name of using up what you’ve got 😉
Ingredient List
Cocoa Powder
The star of the show! Unsweetened cocoa powder gives these brownies their deep, chocolatey richness. I prefer natural cocoa for a classic fudgy texture, but you can swap in Dutch-processed for a smoother, slightly less acidic flavor.
All-purpose Flour
Just enough to hold everything together without making the brownies cakey. We are all about a fudgy brownie here, friends.
Sourdough Starter (or discard)
The star ingredient! It adds a subtle tang that enhances the chocolate flavor and keeps the brownies moist. I love using up my sourdough starter in these brownies.
Eggs
Essential for binding and creating that shiny, crackly top. The key is whipping them with the sugar to get that classic texture.
Coffee (or water)
Coffee deepens the chocolate flavor without making the brownies taste like coffee. If you don’t have coffee on hand, water works fine. You can also use milk for a creamier result or even chai tea for a warm spice twist.
Sugar
Regular granulated sugar is my go-to for creating that classic brownie top.
Vanilla Extract
This isn’t just for flavor, it actually enhances the chocolatey-ness of the cocoa powder!
Salt
Don’t skip the salt! It balances the sweetness and deepens the chocolate flavor. I like a pinch of sea salt for that little extra something. You could even sprinkle a tiny bit on top before baking for a salty-sweet vibe.
Tools and Equipment
9 x 13-inch Baking Pan
The perfect size for evenly baked brownies with just the right thickness.
Parchment Paper (Optional)
Lining the pan makes for easy removal and less cleanup.
Mixing Bowls
A small bowl for the cocoa mixture and a large one for mixing everything together.
Stand Mixer or Handheld Mixer
Whipping the eggs and sugar properly is key to that signature crackly top! This recipe works well with either a stand mixer or a handheld one like the kind my mama used to use.
Kitchen Scale
You don’t *need* a scale to make these sourdough brownies, but I promise you that your baking game will level up exponentially when using a scale. It is a much more accurate form of measuring than using cups. Plus, they are relatively inexpensive.
Step-by-Step Instructions for the Best Sourdough Brownies
Alright, let’s make some brownies! These steps will help you get that perfect balance of fudgy, crackly, and rich—no dry, cakey brownies on my watch.
Prep the Pan & Preheat the Oven
First things first, set your oven to 350°F. Grease a 13 x 9-inch pan and lightly dust it with flour, or line it with parchment paper if you want easy removal. No one wants brownies stuck to the pan—unless you enjoy scraping out the remnants with a spoon (no judgment).
Make the Cocoa Mixture
In a small bowl, whisk together the cocoa powder and coffee (or water) until smooth. This step helps “bloom” the cocoa, bringing out a deeper chocolate flavor. Stir in the melted butter and vanilla extract until combined. Set this chocolatey goodness aside while we work on the eggs.
Whip the Eggs and Sugar
This step is where the magic (okay, science) happens! In the bowl of a stand mixer or a large mixing bowl with a handheld mixer, add the eggs and sugar. Beat on medium-high speed for about 3–5 minutes until the mixture is pale yellow, super fluffy, and doubled in volume. This is the key to getting that iconic crackly brownie top!
Combine the Wet Ingredients
Gently pour the cocoa mixture into the whipped eggs and sugar. Add the sourdough starter/ discard. Use a spatula or the mixer on low speed to fold everything together until just combined. You don’t want to knock out all the air you just whipped in—handle with care!
Add the Dry Ingredients
Sprinkle the flour and salt over the batter and fold them in gently. A few streaks of flour at the end are fine—overmixing is what makes brownies tough instead of tender. Less stirring = fudgier brownies.
Let the Batter Rest (Optional, but Worth It!)
Pour the batter into your prepared pan and let it sit for 5–10 minutes before baking. This little pause gives the sugar time to rise to the surface, helping create that classic shiny, crackly top.
Bake to Perfection
Place the pan on the bottom rack of your oven and bake for about 30 minutes. Check for doneness by inserting a toothpick 2 inches from the edge—it should come out clean or slightly moist, but not with wet batter. The center will keep setting as it cools, so don’t overbake!
Cool & Enjoy
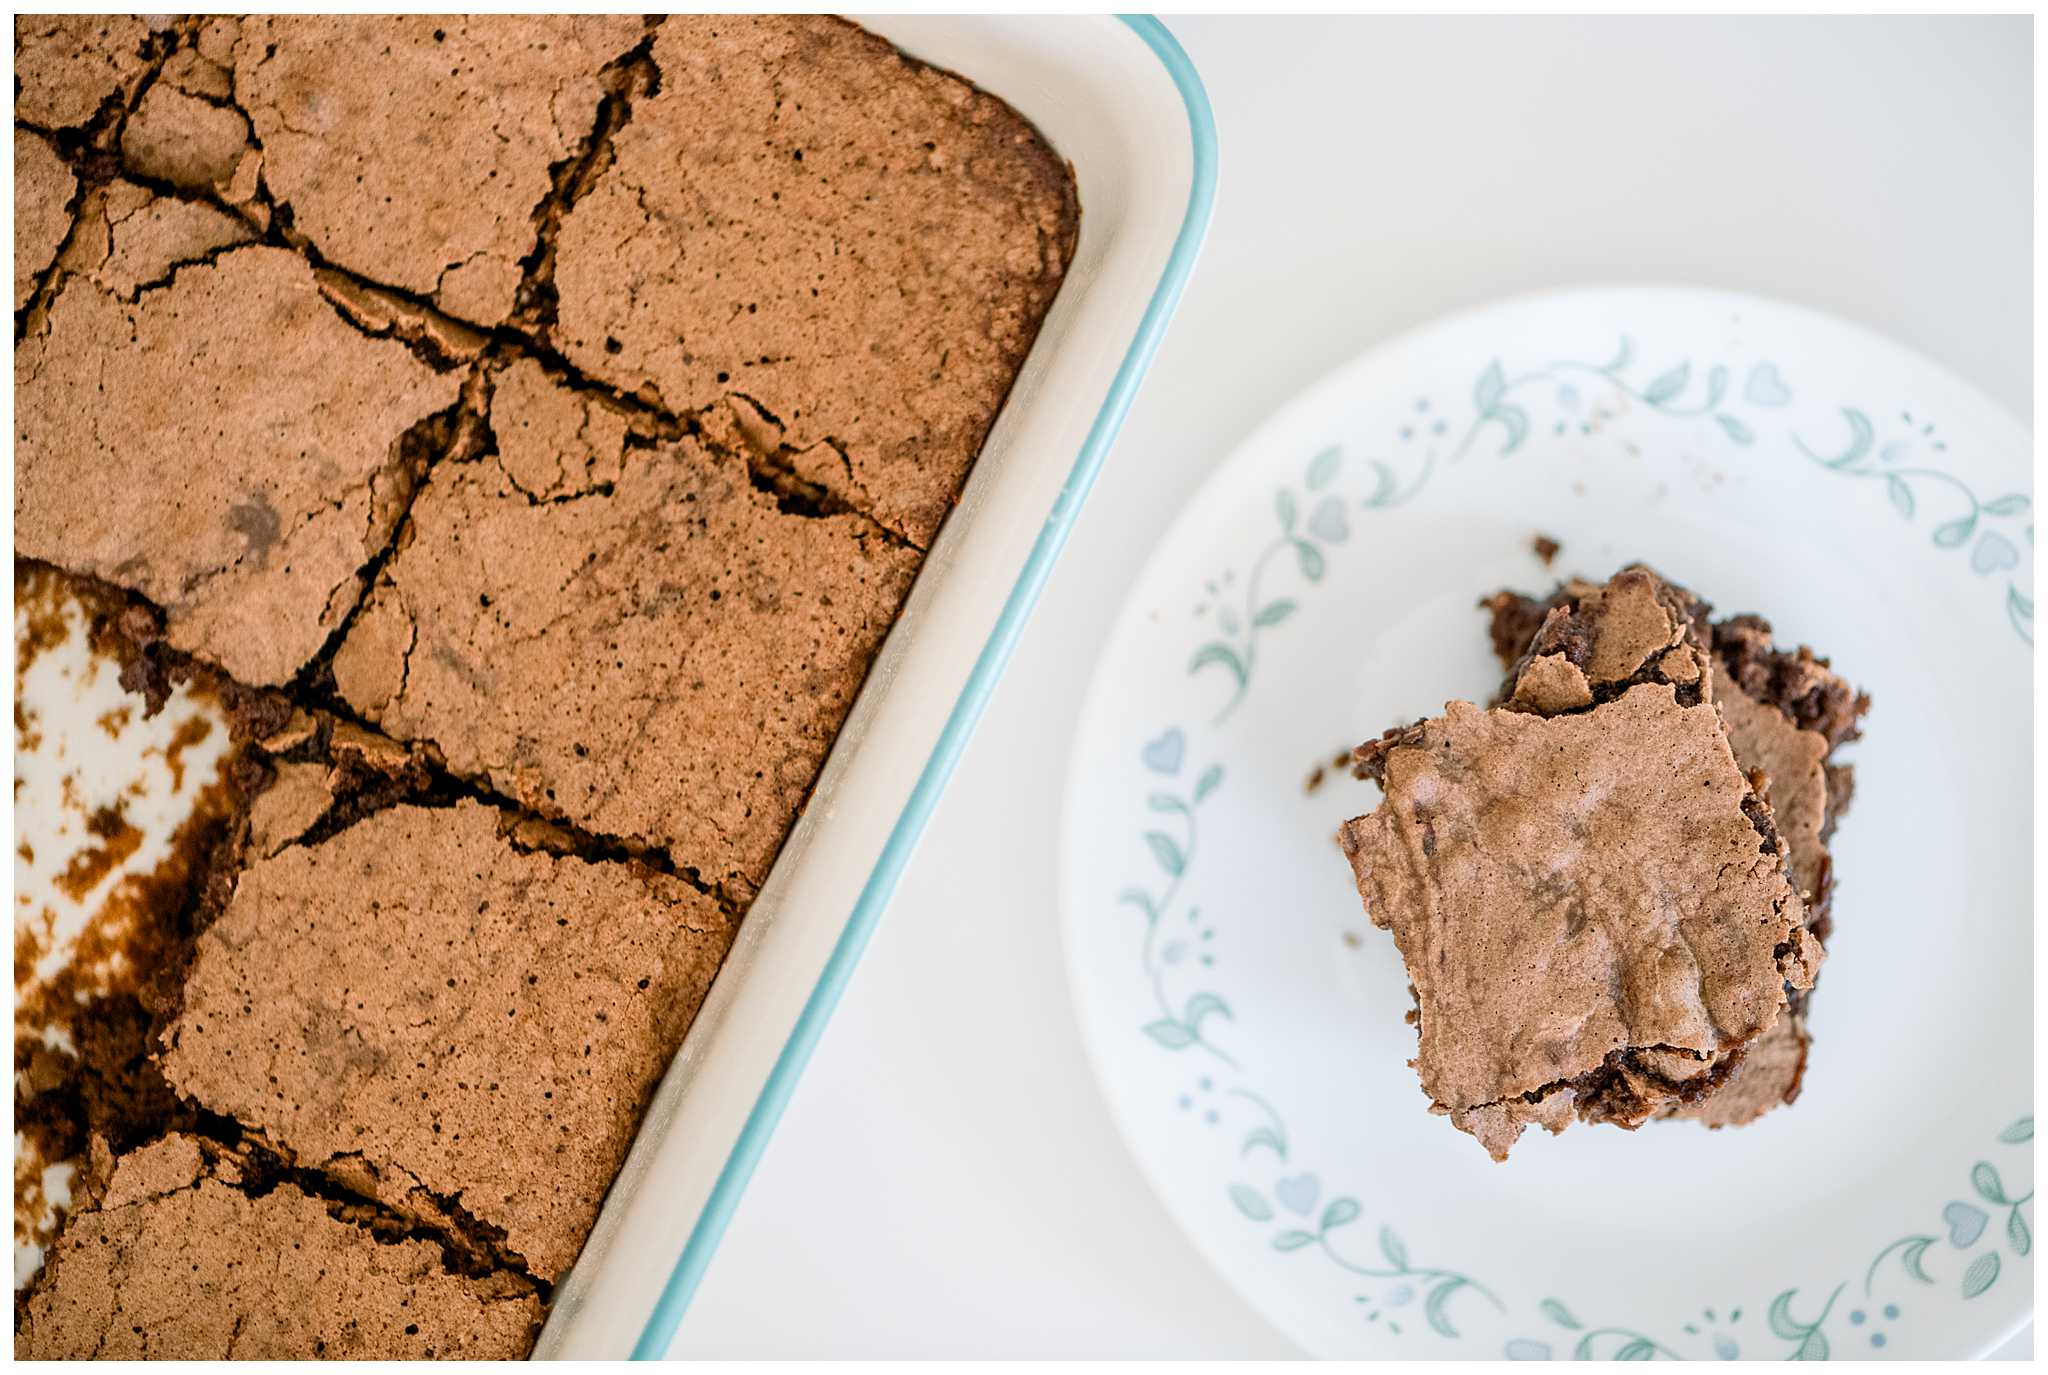
Let the brownies cool in the pan for at least 20–30 minutes before slicing (I know, waiting is the hardest part). If you want cleaner cuts, chill them in the fridge first. Then, dig in! Or freeze extras for future chocolate emergencies—because those are real.
Variations and Customizations
Sourdough Brownies with nuts
Stir in ½ to ¾ cup of chopped walnuts, pecans, or almonds for some crunch. Toasting the nuts beforehand takes the flavor up a notch!
Sourdough Peanut Butter Brownies
Drop spoonfuls of peanut butter on top of the batter and swirl it in with a toothpick before baking. Almond butter works too!
The Best Sourdough Brownies Recipe
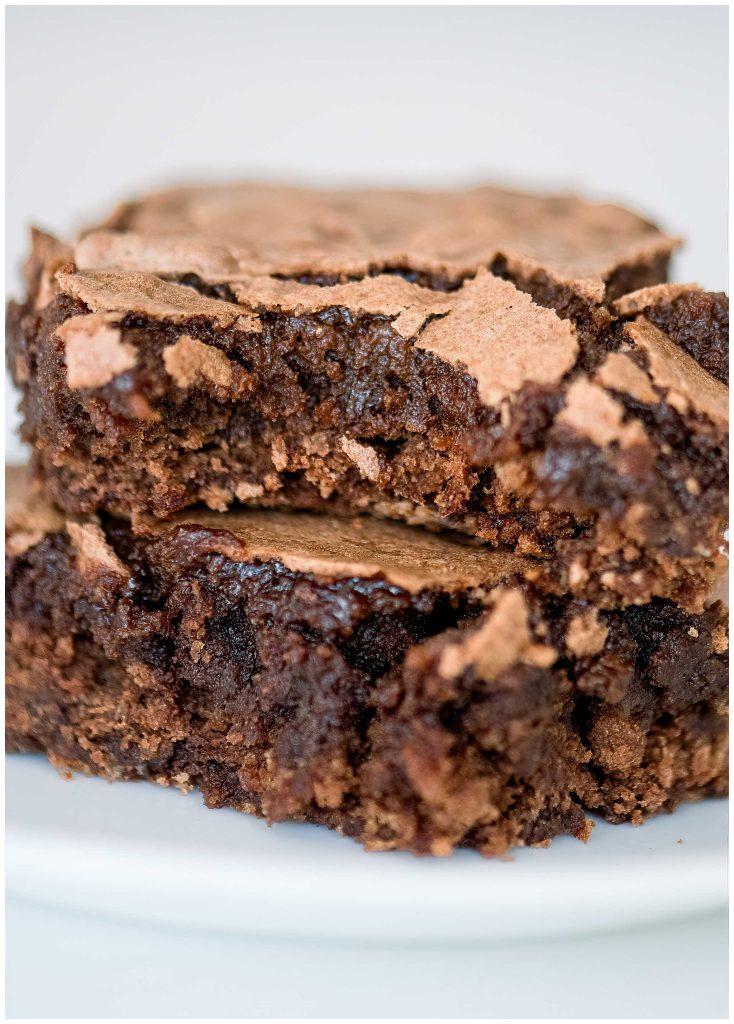
Sourdough Brownies
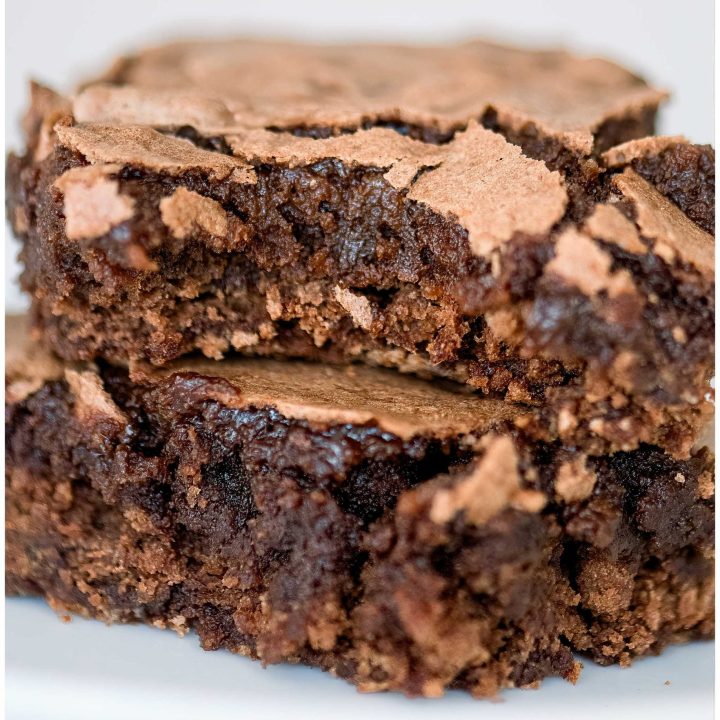
These rich and fudgy sourdough brownies have the perfect crackly top and deep chocolate flavor.
Ingredients
- ½ cup (43 g) unsweetened cocoa powder
- ⅓ cup (80 g) coffee, or water
- 120 g sourdough starter
- ½ cup (113 g) melted butter
- 2 teaspoons (10 g) vanilla extract
- 2 large eggs, room temperature
- 2 cups (396 g) sugar
- 1 ¼ cup (155 g) unbleached all-purpose flour
- ¾ teaspoon salt
Instructions
- Preheat the oven to 350°F. Grease and lightly flour the bottom of a 13 x 9-inch pan.
- In a small bowl, whisk the cocoa powder with warm coffee until smooth. Stir in the melted butter and vanilla extract. Set aside.
- In the bowl of a stand mixer (or a large mixing bowl with a handheld mixer), add the eggs and sugar. Whip on medium-high speed until the mixture is pale yellow, fluffy, and doubled in volume, about 3–5 minutes.
- Pour the cocoa mixture into the whipped eggs and sugar. Add the sourdough starter. Mix gently until just combined.
- Sprinkle the flour and salt over the wet mixture. Gently fold them in by hand or on the mixer’s lowest setting until no streaks of flour remain. Do not overmix.
- Pour the batter evenly into the prepared pan. Let it sit for 5–10 minutes to enhance the shiny crust.
- Place the pan on the bottom rack of the oven and bake until a toothpick inserted 2 inches (5 cm) from the side comes out clean or slightly moist, about 30-35 minutes.
- Allow the brownies to cool completely before cutting into 20 pieces. Store in an airtight container for up to 5 days.

I know you’re going to love this recipe! If you give it a try, let me know how it turns out. Have any questions? Drop them in the comments, and I’ll do my best to help!
When do you add in the discard??
Oh I am so sorry, I have updated the recipe to include that. Thank you for letting me know!